-
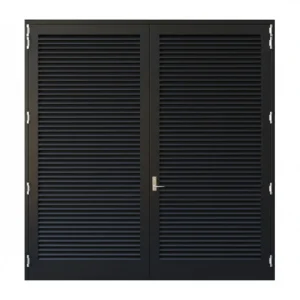
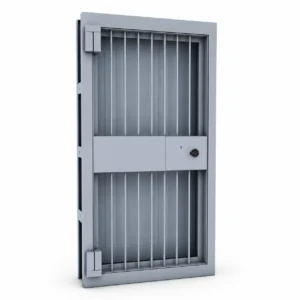
Our Black Louvered Panel Iron Doors are engineered to provide controlled airflow while maintaining strength and security. These doors are well-suited for areas where ventilation is essential without compromising durability. They are commonly used in generator rooms, utility areas, equipment rooms, storage spaces, and industrial environments. The louvered panel design allows continuous air circulation, helping…
-
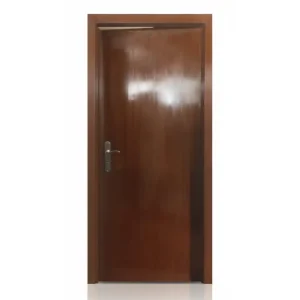
Our Fire-Rated Steel Doors in Wooden Finish are engineered using a rigid structural system to meet stringent performance and safety standards. Designed for reliable fire protection, these doors combine the strength of steel with the aesthetic appeal of a natural wood finish, making them suitable for spaces where both safety and appearance matter. The door…
-
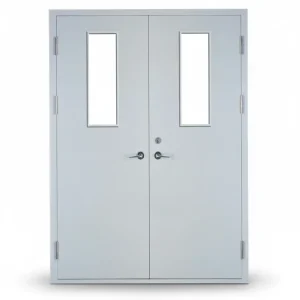
These doors are manufactured using high-quality stainless steel in Types 304 and 316, ensuring durability, strength, and long-term performance even in demanding environments. The construction features continuously welded vertical edges along with inverted top and bottom channels. This robust design improves structural integrity while giving the door a clean and seamless finish. The doors are…
-
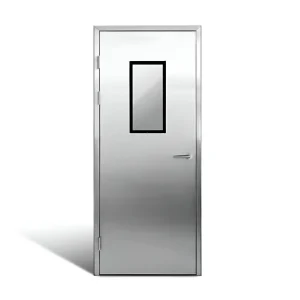
These doors are manufactured using high-quality stainless steel in Types 304 and 316, ensuring excellent strength, durability, and long-term performance. The stainless steel construction makes them suitable for demanding environments where hygiene and corrosion resistance are essential. The door construction features continuously welded vertical edges along with inverted top and bottom channels. This design enhances…
-

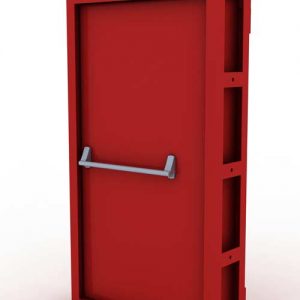
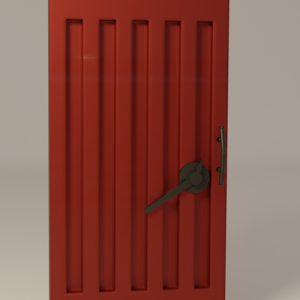
Our Steel Security Doors are built for strength and reliability, making them ideal for industrial, commercial, and high-security environments. Their solid construction ensures long-lasting performance in demanding conditions. The doors are manufactured in sizes as per customer requirements and finished with powder-coated or oven-baked paint for enhanced durability and corrosion resistance. These steel security doors…
-
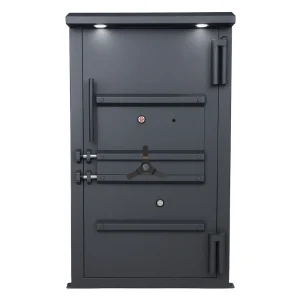
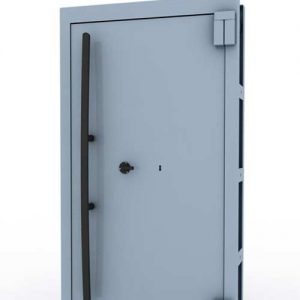
Build the Ultimate Fortress with the Strong Room Door With Canopy For high-net-worth individuals and business owners in Pakistan, standard security measures are often insufficient. When you need to turn an entire room into a secure vault, the Strong Room Door With Canopy is the critical barrier that stands between your assets and intruders. This door is…
-
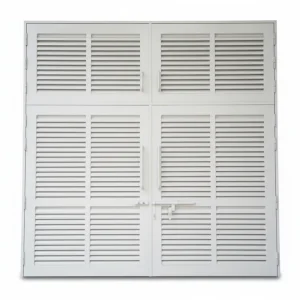
Our white Louvered Panel Iron Doors are designed for environments that require reliable and effective ventilation. They are ideal for use in plant rooms, boiler rooms, computer facilities, generator areas, storage spaces, as well as manufacturing and recreational venues. These doors are manufactured in sizes as per customer requirements, ensuring a perfect fit for each…
-
“Metwood” Furniture Solutions
-
Buy Fire Rated Doors in Pakistan at an Affordable Price
-
Safes and Security Equipment
-
Buy Vault Doors in Pakistan at an Affordable Price
To get the latest price, please request a quote today!
-
Safes and Security Equipment
