In this guide, we demystify pallet racking installation with clear steps, safety checks, tools, anchoring, capacities, and maintenance essentials practically.
Quick pallet racking installation points
- Build a rack data sheet: loads, pallet size, beam spans, forklift RAS, aisles, flues, slab, codes.
- Gather tools/PPE; stage matched components (no mixing brands).
- Prep slab: clean, check flatness, snap layout, square, mark upright centers/aisles/fire clearances.
- Set first bay: shim bases, install lowest beams, plumb to ≤ H/240, level beams (≤3–6 mm).
- Extend run: keep beam elevations consistent; install row spacers; maintain flue spaces.
- Anchor correctly: drill, clean holes, set specified anchors, torque to spec, re-check plumb; log torque.
- Fit decking/supports; add column/end guards; use back-stops if required; avoid wall ties unless engineered.
- Label: load plaques, beam elevations, bay IDs.
- Commission: verify plumb, locks on every beam, full base bearing, anchors, flues, aisles; document as-built and training.
- Load rules: heaviest low, center pallets, never exceed posted capacities, no unapproved changes.
- Capacity sanity-check: beam pair ≥ level demand; frame ≥ total bay load.
- Maintain: daily visual checks, monthly spot checks, inspect after impacts, annual audit.
Table of Contents
0) What you need on paper first
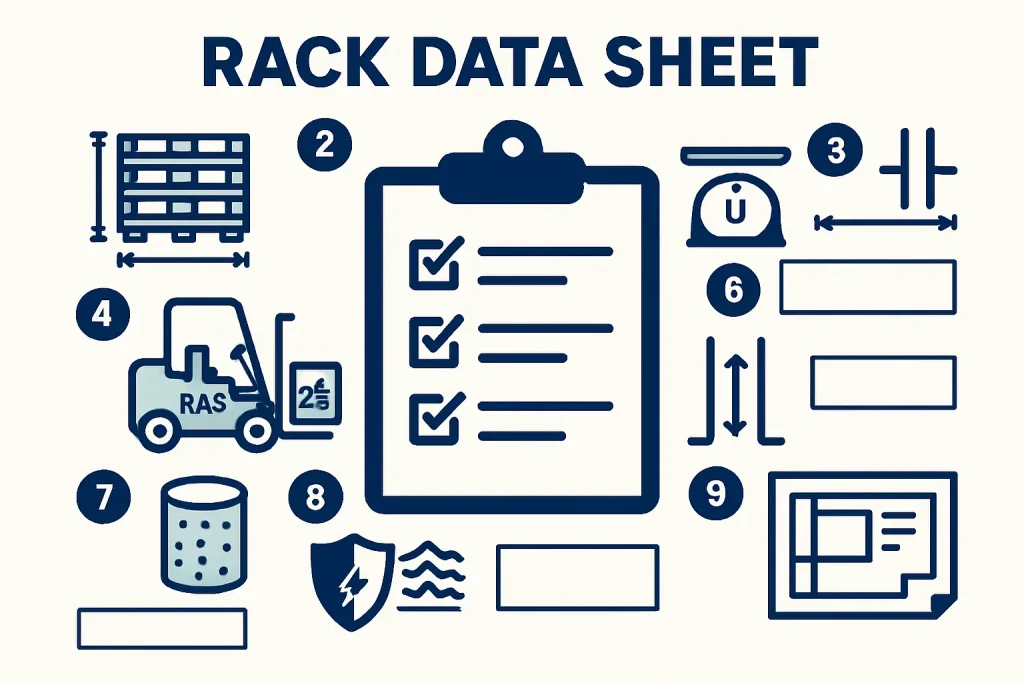
Create a one-page “rack data sheet” before you touch a bolt:
- Unit load (max pallet + product weight), pallet size, and pallet entry side.
- Beam span (clear bay) and beam level count.
- Forklift model + Right-Angle-Stack (RAS) dimension.
- Aisle width target, flue space targets (transverse & longitudinal), and top-of-load fire clearance (per local code).
- Slab info (thickness, compressive strength), seismic/wind requirements, and anchor type/size.
- Manufacturer drawings + capacities for the exact components you’ll use.
Rule: Install only one manufacturer’s components per rack line—no mixing.
1) Tools, consumables, and PPE
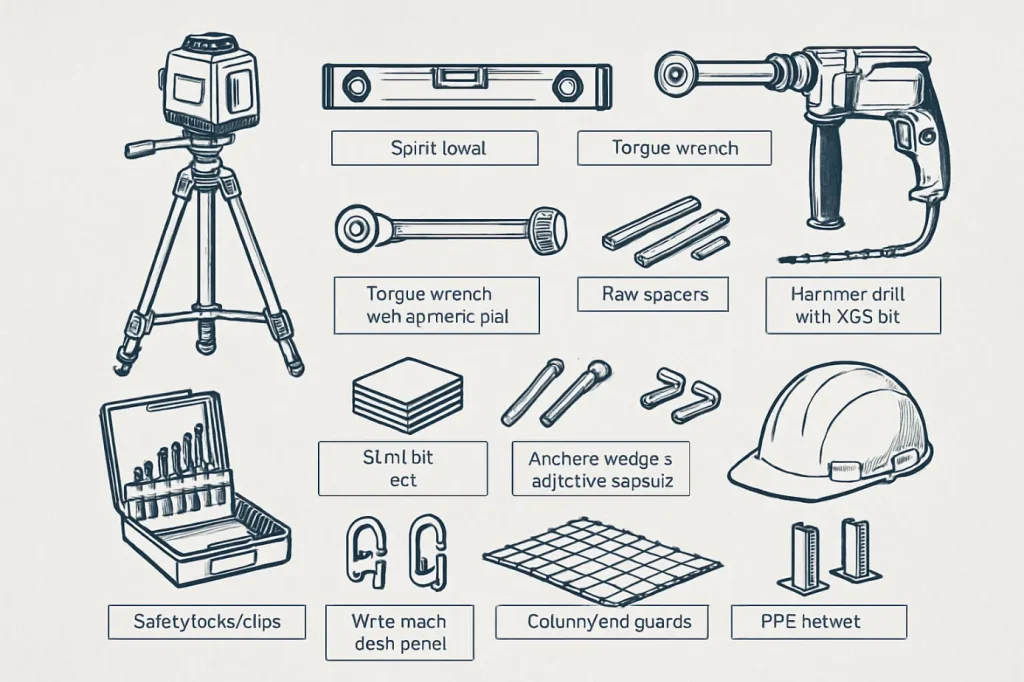
- Laser level, rotary laser or 2× 2-m spirit levels; plumb bob.
- Chalk line, steel tape, string line, square.
- Hammer drill (SDS-Max), drill bits to anchor spec, vacuum/blow-out pump/brush.
- Impact + torque wrench with calibrated socket; spanners.
- Steel shims (non-compressible), feeler gauges.
- Anchors (wedge/adhesive per design), base plate washers, row spacers, safety locks/clips.
- Wire mesh decks or pallet supports, column guards, end-of-aisle guards.
- PPE: hard hat, gloves, safety shoes, eye/ear protection; barricade tape.
2) Site prep and layout
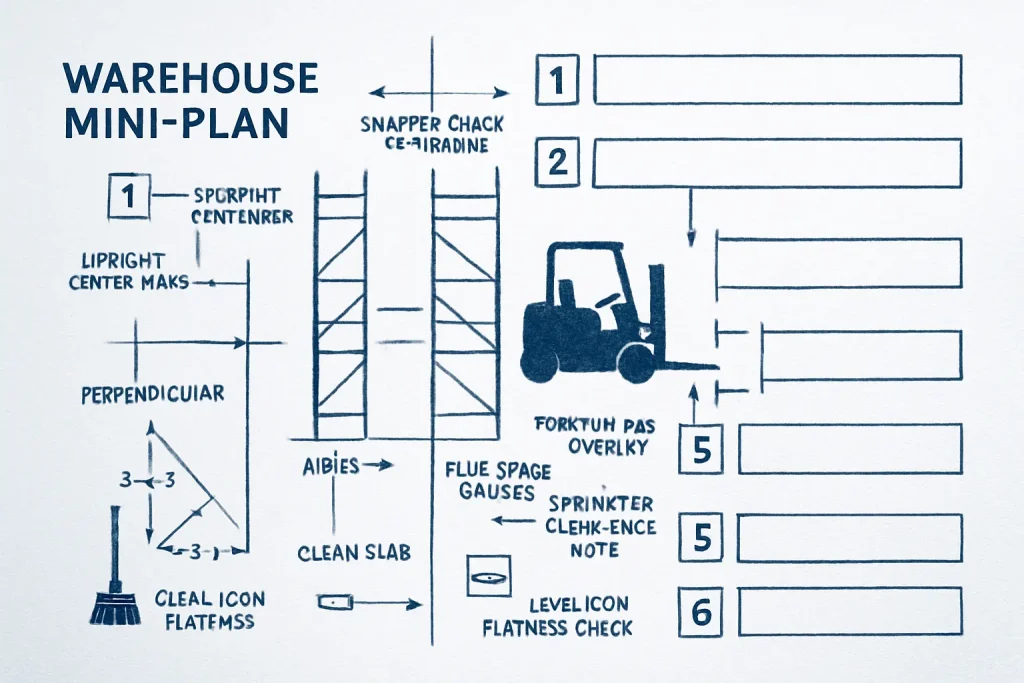
- Clear & clean the slab; repair spalls at anchor points.
- Check slab flatness: ramp/step deviations >3–5 mm over a bay create twist—plan to shim.
- Establish datums: snap a centerline for the first row and a perpendicular baseline using 3-4-5 (or equal diagonals).
- Mark upright centers:
- Single row: mark at rack pitch (bay length).
- Back-to-back: mark both rows and the longitudinal flue space (typical target ≈ 150 mm / 6 in; verify local fire code).
- Transverse flue between pallets on a beam: plan ~75 mm / 3 in gap; verify with decking choice.
- Single row: mark at rack pitch (bay length).
- Aisles: Set aisle ≥ forklift RAS + pallet length + 200 mm (8 in) (check truck manual).
- Fire/sprinkler: Keep top-of-load to sprinkler deflector clearance per local code (commonly ≈ 450 mm / 18 in—confirm locally).
3) Frame (upright) staging and first bay
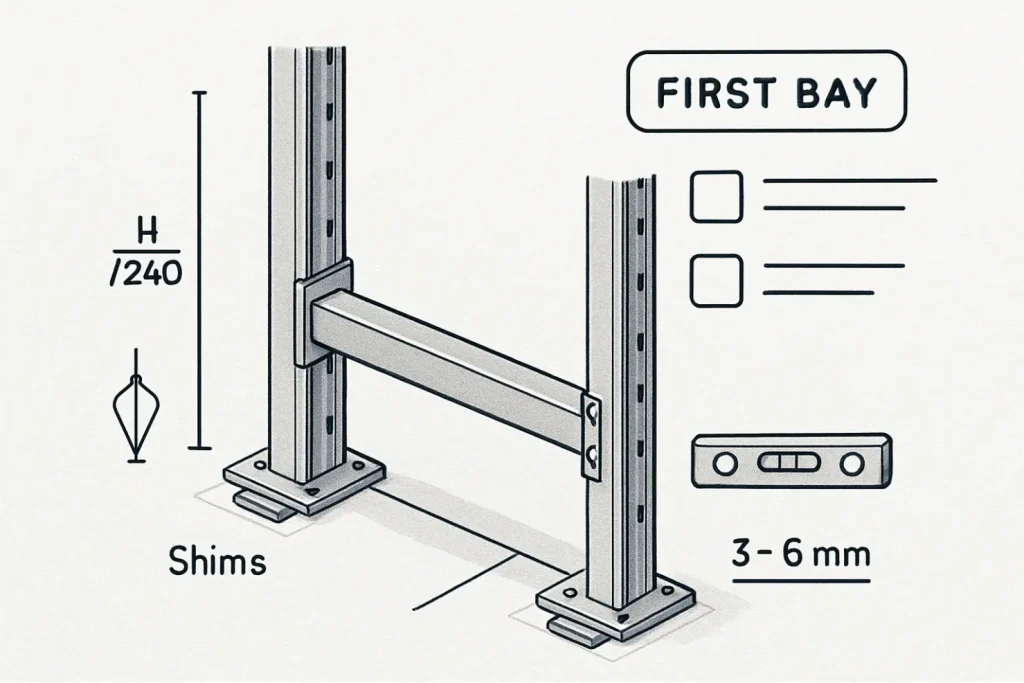
- Pre-assemble frames if shipped KD (bracing, footplates).
- Stand two uprights on datum marks; shim under base plates so both feet sit solidly—no rocking.
- Install the lowest beam level first (about knee height) to create a stable rectangle. Fit safety locks.
- Plumb & level:
- Vertical plumbness target: ≤ H/240 (e.g., 6000 mm high → ≤25 mm out-of-plumb top to base).
- Beam level: aim ≤ 3 mm difference within a bay; ≤ 6 mm across adjacent bays.
- Vertical plumbness target: ≤ H/240 (e.g., 6000 mm high → ≤25 mm out-of-plumb top to base).
- Add the top beam level to brace the frame pair. Re-check plumb.
Tip: Keep a running plumb/level log per bay—problems grow with each added bay if the first is off.
4) Building the run
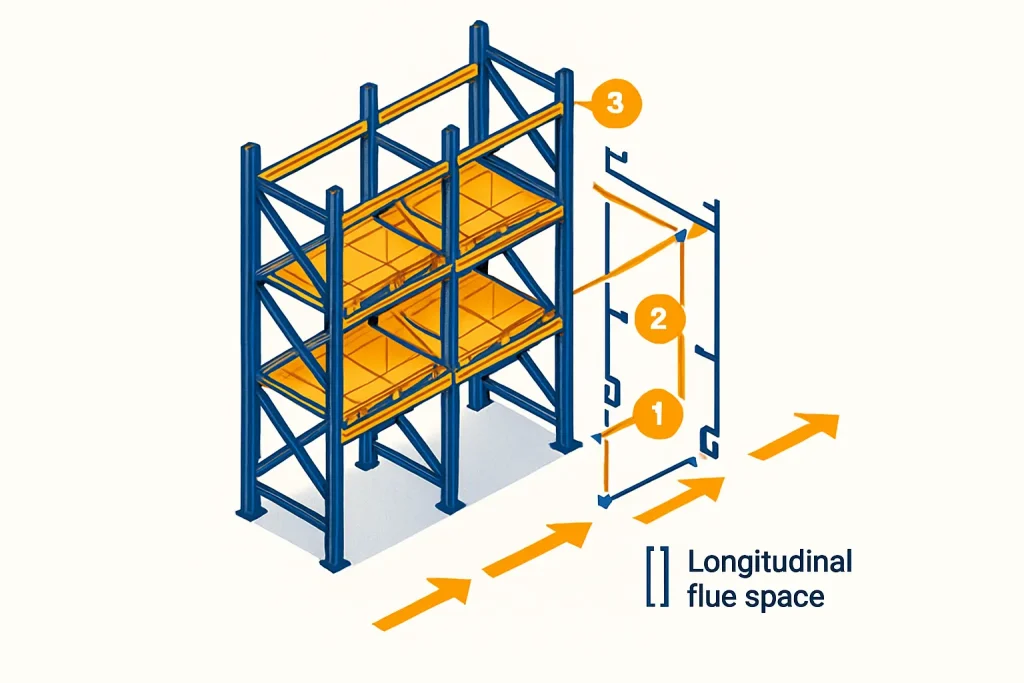
- Progress bay-by-bay from the first stabilized bay.
- Set all matching beam levels at the same elevation across the run to avoid rack twist.
- For back-to-back rows, install row spacers as you go: minimum two per upright pair (commonly one ≈ 1.5–2 m up and one near the top). Add more on tall frames or per manufacturer.
- Keep the longitudinal flue space true—check with a spacer stick (cut to target width).
5) Anchoring (critical safety step)
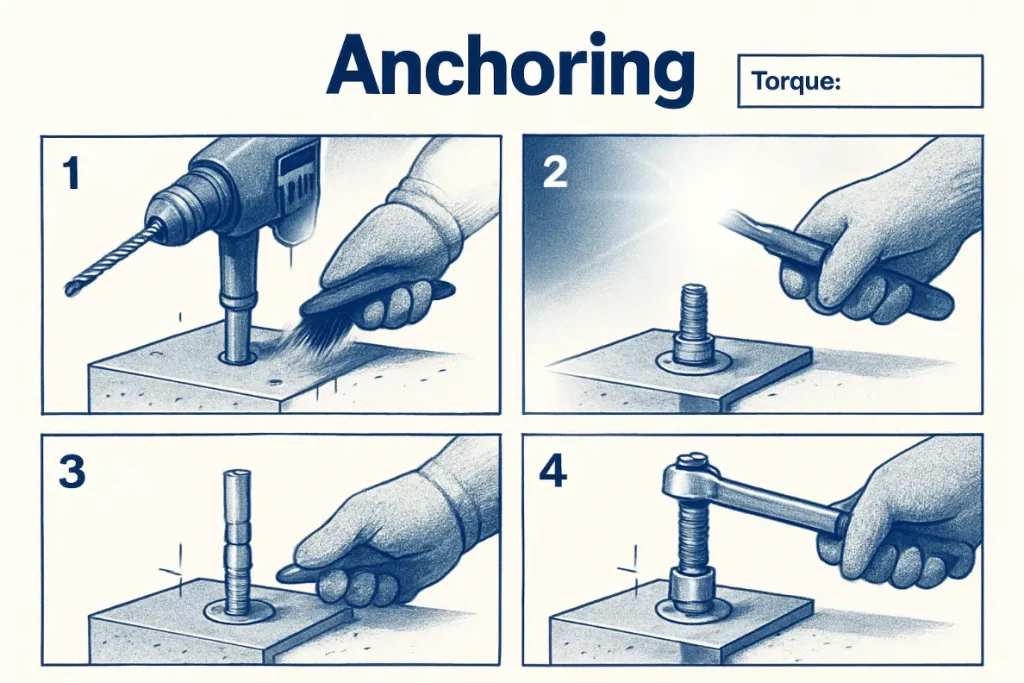
Always follow the specific anchor manufacturer’s embedment, hole size, spacing, and torque.
- Drill through base-plate holes to the specified diameter/depth.
- Clean holes (brush + blow + vacuum). Dust left in holes kills capacity.
- Place anchors (wedge/adhesive):
- Typical edge distance ≥ 5× anchor diameter (check slab and layout).
- Respect minimum spacing between anchors and control joints.
- Typical edge distance ≥ 5× anchor diameter (check slab and layout).
- Torque to spec with a calibrated wrench; record actual torque in your QA log.
- After torquing, re-check plumb and shim if the base shifted; re-torque if shims were adjusted.
6) Decking & accessories
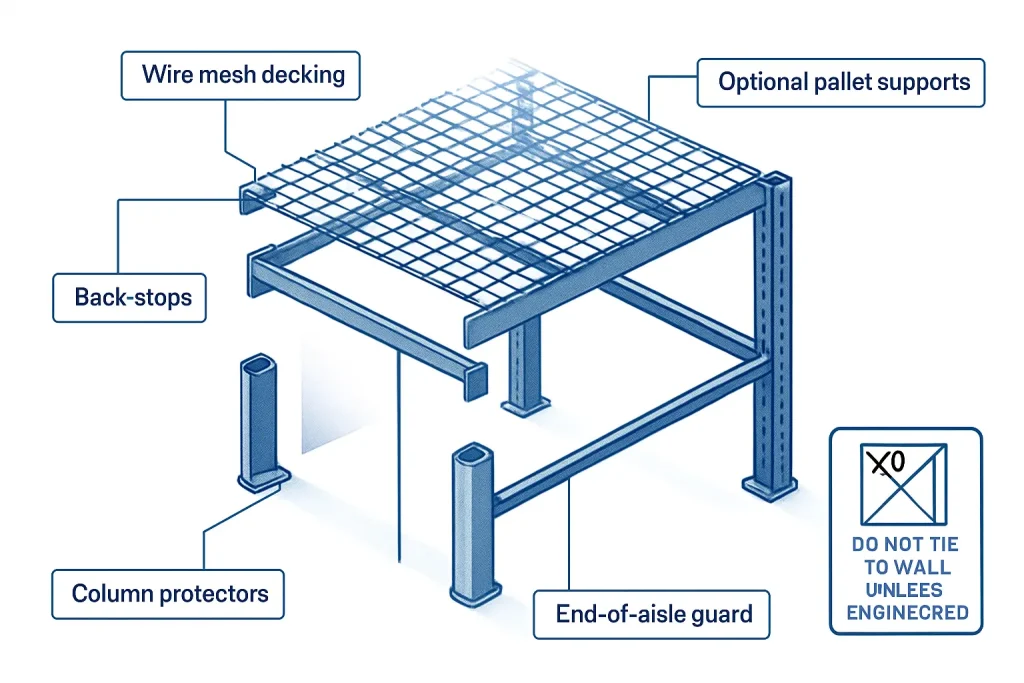
- Wire mesh decking or pallet supports per design; confirm they don’t block required flue spaces.
- Back stops (if specified) to keep loads off flues or walls.
- Column protectors at all aisle-exposed posts; end-of-aisle guards where trucks turn.
- Row ties / wall ties only if the design allows—never use walls as structure unless engineered.
7) Final fit-out and signage
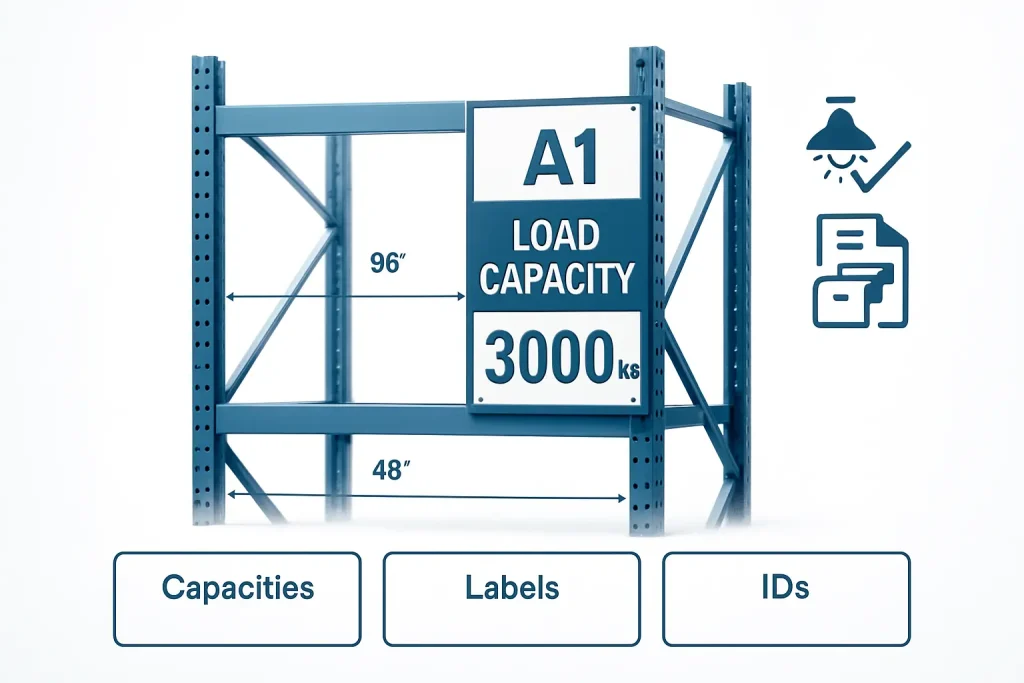
- Post load plaques at aisle ends: unit load, per-beam-level capacity, max levels per bay, and any uniform load assumptions.
- Apply beam elevation labels and bay IDs for operations.
- If there’s in-rack sprinklers or lighting, verify clearance after decking.
8) Commissioning checks (sign off only when all pass)
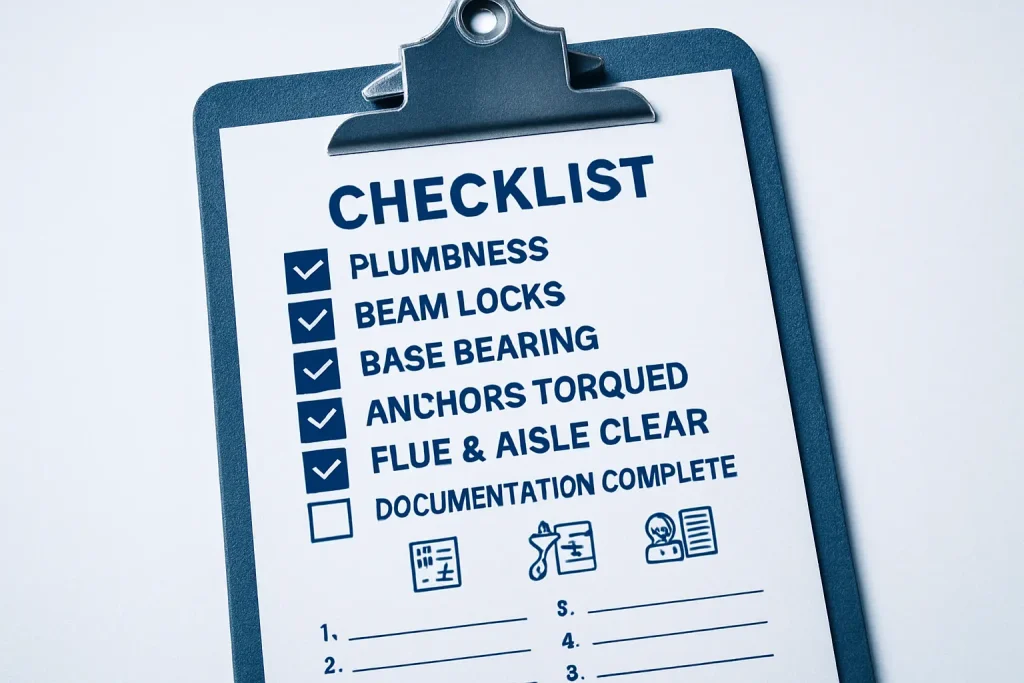
Structural & geometry
- Upright plumbness ≤ H/240; no twist (both posts similar).
- Beam locks/clips installed on every connector.
- Base plates fully bearing on slab or solid shims; no gaps >1 mm.
- Anchors: correct type/size, embedment verified, torque recorded.
- Flue spaces meet targets; aisles meet plan.
- No component damage (kinks, bends, cracked welds, stripped holes).
Documentation
- As-built sketch with bay count, elevations, row lengths.
- Anchor torque log and any shim locations.
- Component list matches capacities submitted by manufacturer.
- Operator briefing completed and sign-in sheet filed.
9) Loading rules for day one
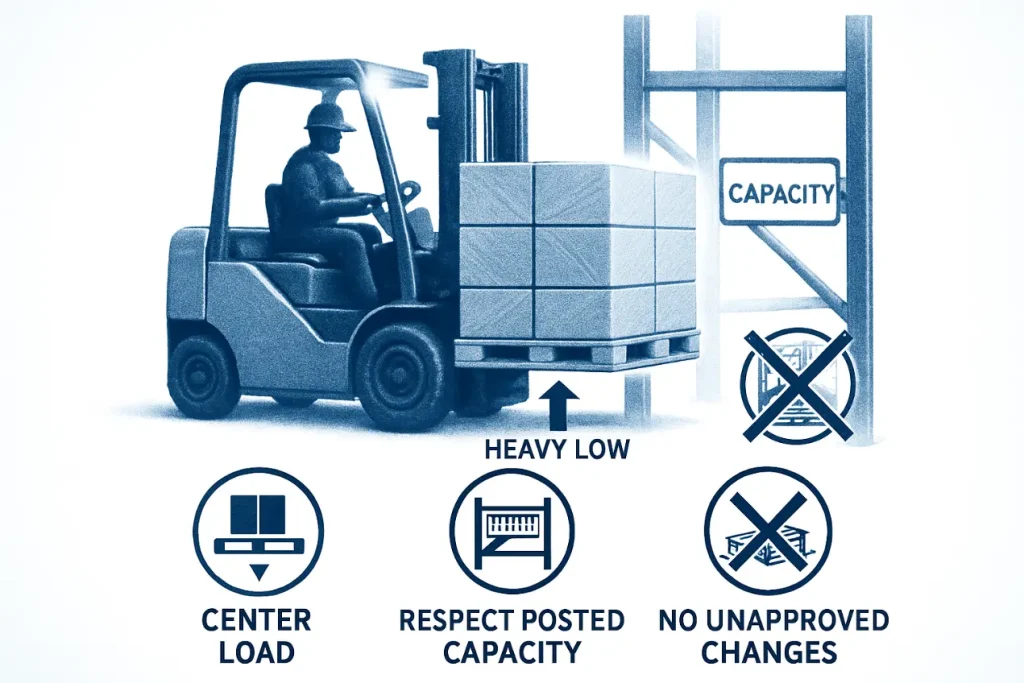
- Heaviest pallets on lowest levels.
- Keep loads centered on beams; no pallet overhang into aisles beyond plan.
- Respect posted capacities—no temporary overloading “just for today.”
- No alterations (extra levels, different beams) without re-checking capacity.
10) Simple capacity sanity-check (example)
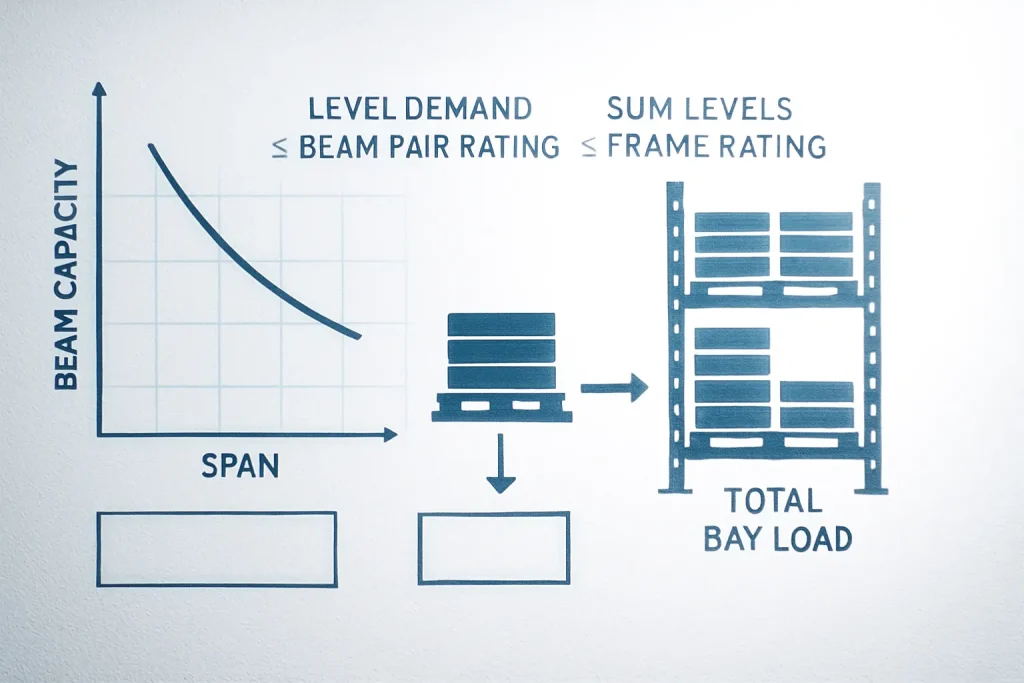
- Pallet weight (gross): 1,000 kg each.
- Two pallets per beam level → 2,000 kg factored demand.
- Choose beams with rated pair capacity ≥ 2,000 kg at your exact span and rack configuration (capacity drops as span increases).
- Check the upright frame: total bay load = sum of all beam levels + any seismic factor per region. If your frame chart at your beam spacing says 8,000 kg and you plan four levels × 2,000 kg = 8,000 kg, you’re at the limit—don’t add “just one more” level.
Never “borrow” charts from a similar-looking beam. Use the exact model/length/profile and connector.
11) Common mistakes (and quick fixes)
- Skipping shims: leads to beam roll and lock pin shear. Fix: shim until feet fully bear; re-torque.
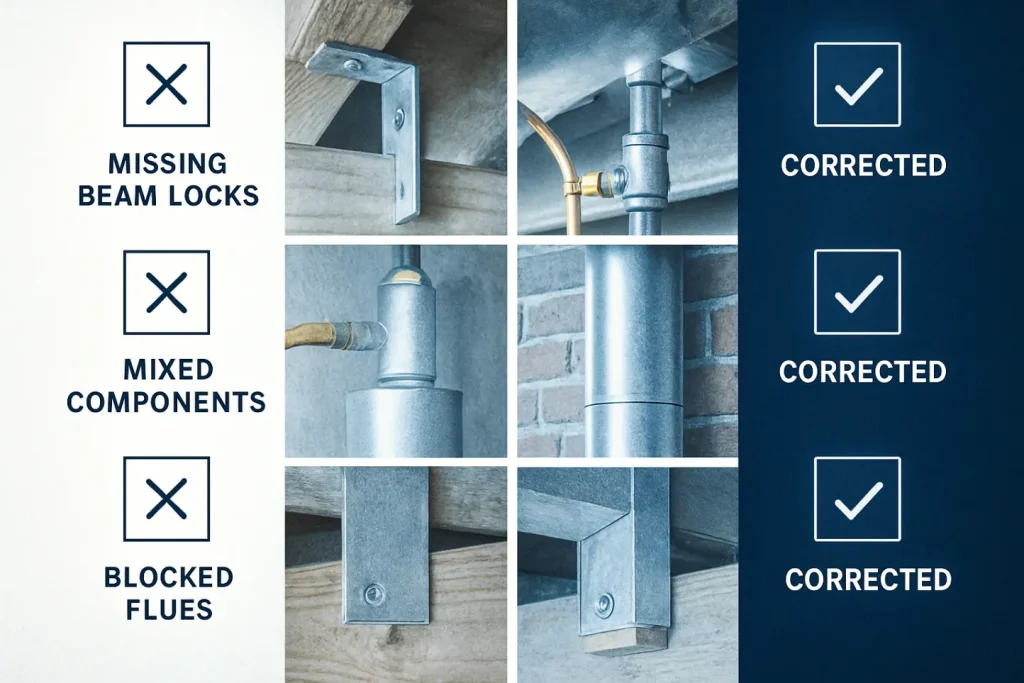
- Missing beam locks: catastrophic risk. Fix: stop work, install locks row-by-row.
- Mixed parts: unknown capacity. Fix: replace with matched components.
- Blocked flues: hurts fire performance. Fix: adjust pallet overhang/deck type; add back-stops.
12) Maintenance & periodic inspection

- Daily (operators): visible damage, missing locks, hit guards.
- Monthly (supervisor): plumb spot-checks, loose anchors, flue/aisle encroachments.
- After any impact: unload, quarantine bay, inspect/replace parts—never straighten bent steel.
- Annually: full audit against original drawings/capacities; re-tighten anchors per spec.


