Here is a detailed, step-by-step guide to cleaning wooden furniture. This guide is broken down into sections, from your regular weekly dusting to a deep clean for grimy pieces, plus tips for common problems.
Table of Contents
Part 1: Before You Begin – The Golden Rules

Before you apply any cleaner, you must understand two things: your furniture’s finish and the right tools for the job. Skipping this step can lead to damaged wood.
Step 1: Identify Your Furniture’s Finish
The type of finish determines the cleaning method. Most modern furniture has a very durable, sealed finish, while antiques may have a more delicate oil or wax finish. Here’s a simple test:
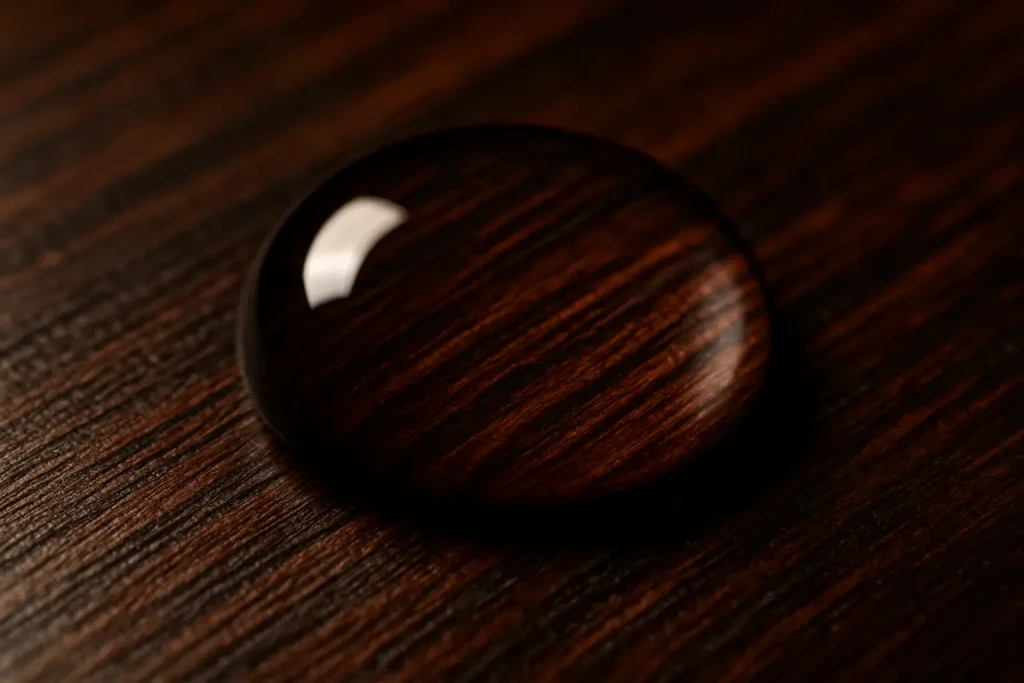
- The Water Drop Test: Find an inconspicuous spot (like the back of a leg). Place a single drop of water on the surface.
- If the water drop beads up: You have a modern, sealed finish like polyurethane, varnish, or lacquer. This is the most durable and easiest to clean.
- If the water drop soaks in or creates a dark spot after a few minutes: You likely have an oil or wax finish. This requires more gentle care.
- If the drop makes the finish cloudy or milky: It could be a shellac or varnish finish, which is sensitive to water and alcohol. Be extra cautious.
Step 2: Gather Your Supplies
You don’t need expensive products. Simple is often best.
For All Cleaning Levels:
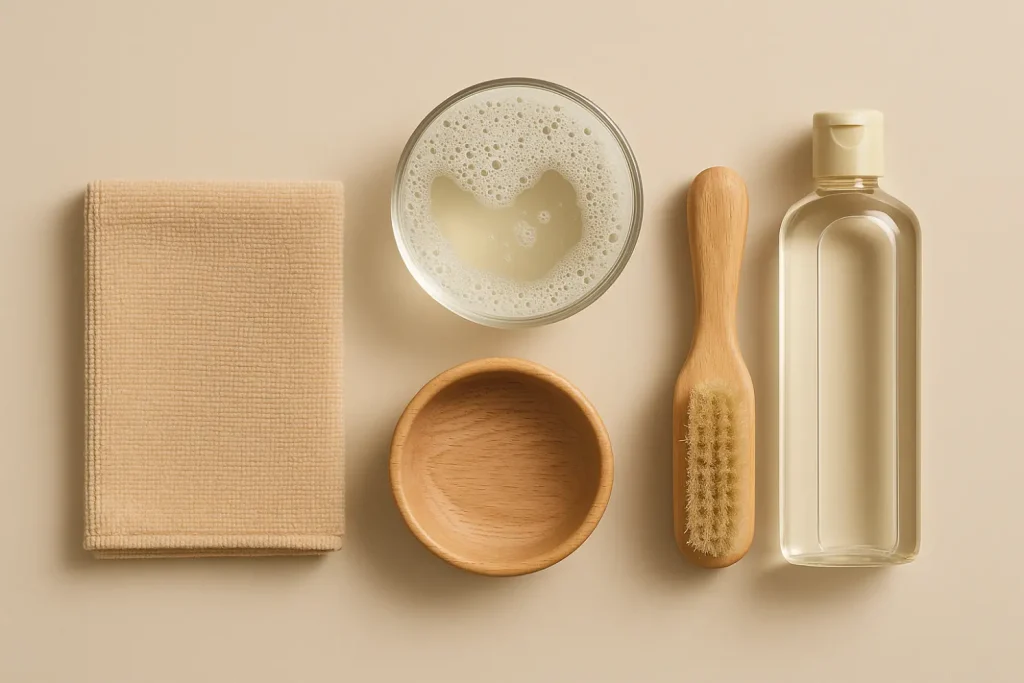
- Microfiber Cloths: You will need at least three. They are soft, lint-free, and grab dust effectively without scratching.
- A Soft-Bristled Brush: An old, clean paintbrush or a soft toothbrush is perfect for getting into carvings, cracks, and details.
For Routine & Deep Cleaning:
- Mild Dish Soap: A gentle, degreasing soap without harsh additives or bleach.
- Two Bowls or Buckets: One for the cleaning solution, one for clean rinse water.
- Optional for Deep Cleaning:
- Mineral Spirits: (Also known as white spirit). Excellent for removing heavy wax and grime buildup. Use with caution in a well-ventilated area.
- #0000 Super-Fine Steel Wool: For tough grime on durable finishes only. Never use coarser grades.
What to AVOID Using on Wood Furniture:
- All-purpose cleaning sprays: They can be too harsh and strip the finish.
- Excessive water: Wood and water are not friends. Never soak the wood.
- Silicone-based polishes or sprays (like Pledge): They create a slick film that is difficult to remove and can interfere with future refinishing.
- Abrasive sponges or scouring pads: They will scratch the finish.
- Ammonia or harsh chemical cleaners.
Part 2: The Cleaning Process (Step-by-Step)

Choose your cleaning level based on how dirty the furniture is.
Level 1: Regular Dusting (Weekly)
This is the most important maintenance step to prevent dust from turning into abrasive grime.
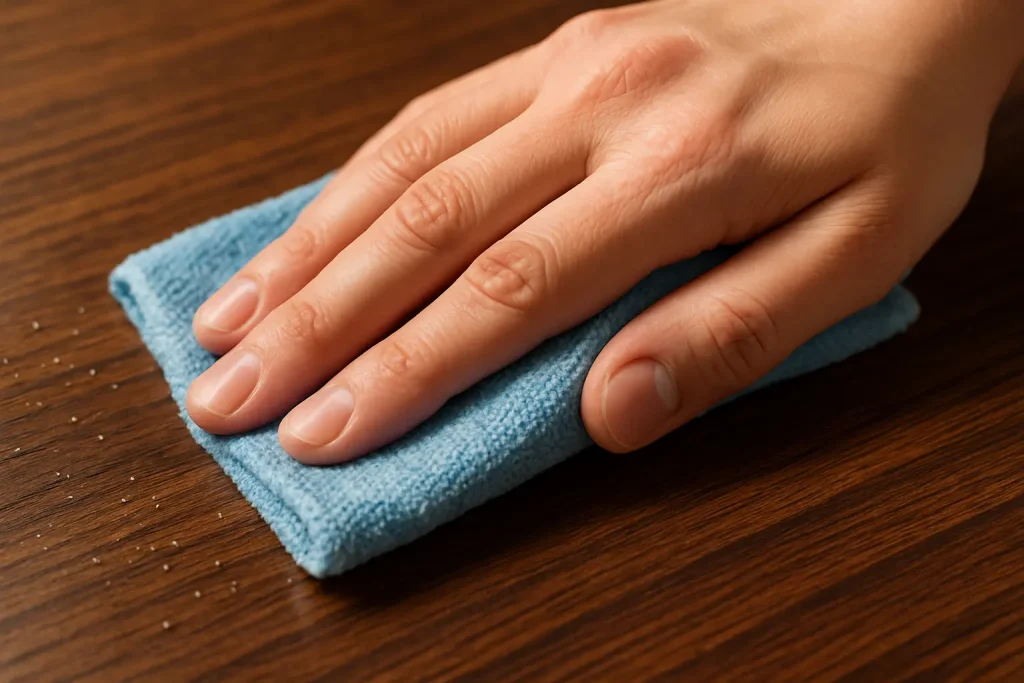
- Dry Dust First: Take a clean, dry microfiber cloth and gently wipe the entire surface.
- Follow the Grain: Always wipe in the direction of the wood grain. This helps pick up dust from the tiny crevices in the wood.
- Detail the Crevices: Use your soft-bristled brush to gently whisk dust out of carvings, corners, and hardware.
Level 2: Routine Cleaning (Monthly or As Needed for Spills)
This method is for sealed finishes (where the water drop beaded up).
- Dust Thoroughly: First, complete the “Level 1: Regular Dusting” steps. You don’t want to turn dust into muddy streaks.
- Mix Your Solution: In a bowl, mix a small amount of mild dish soap with warm water. A good ratio is a few drops of soap per quart (or liter) of water. You want slightly sudsy water, not a foam bath.
- Dampen, Don’t Drench: Dip a clean microfiber cloth into the soapy water and wring it out until it is almost dry. It should feel damp, not wet.
- Wipe It Down: Gently wipe the furniture surface, following the wood grain. The moisture and soap will lift light grime, sticky spots, and fingerprints.
- Rinse the Surface: Take a second, clean microfiber cloth, dip it in your bowl of plain rinse water, and wring it out completely. Wipe the furniture again to remove any soap residue.
- Dry Immediately: Use a third, clean, dry microfiber cloth to buff the surface dry. This prevents water spots and leaves a beautiful, streak-free shine.
Level 3: Deep Cleaning (For Heavy Grime, Wax Buildup, or Neglected Pieces)
Use this method for furniture that feels sticky, greasy, or has years of polish buildup. Always test on an inconspicuous spot first!
- Start with Routine Cleaning: Always try the Level 2 method first. It might be all you need. If the piece is still grimy, proceed.
- Prepare for Mineral Spirits: Open windows and ensure good ventilation. Wear protective gloves. Mineral spirits are flammable, so keep them away from any open flames.
- Apply Mineral Spirits: Dampen a clean cloth with a small amount of mineral spirits. Gently rub a small section of the furniture, following the grain. You should see the old wax and dirt lifting off onto your cloth.
- Address Stubborn Spots: For very thick grime on a durable polyurethane finish, you can gently rub the area with #0000 (super-fine) steel wool dipped in mineral spirits. Apply very light pressure and always move with the grain.
- Wipe Clean: As you work, use a separate clean cloth to wipe away the dissolved grime and excess mineral spirits.
- Let It Dry: The mineral spirits will evaporate. The surface may look dull afterward because you have stripped it down to its original finish.
- (Optional but Recommended) Re-Protect the Surface: After a deep clean with mineral spirits, it’s a good idea to apply a protective coating.
- For most finishes: Apply a high-quality paste wax. It provides a beautiful, soft sheen and a protective barrier. Follow the product instructions.
- For oil finishes: Re-apply a light coat of tung oil or boiled linseed oil, as appropriate for the wood.
Part 3: Handling Common Problems

- White Water Rings: These are marks where moisture is trapped in the top layer of the finish.
- The Mayonnaise Method: Dab full-fat mayonnaise on the ring, let it sit for a few hours (or overnight), and then wipe it off. The oil in the mayo displaces the moisture.
- The Iron Method: Place a thick, dry cotton cloth (like a t-shirt) over the ring. Run a warm, dry iron (no steam!) over the cloth for a few seconds at a time, checking frequently. This can heat the finish just enough to release the trapped moisture.
- Sticky Residue (from tape or stickers):
- Dab the area with a cloth dampened with a bit of mineral oil, olive oil, or mineral spirits. Let it sit for a few minutes to dissolve the adhesive, then gently wipe away. Clean the area afterward with the routine cleaning method.
- Minor Scratches:
- For light-colored woods, rub the meat of a walnut or pecan over the scratch. The oils from the nut can help mask minor imperfections.
- For deeper scratches, use a wax filler stick or a touch-up marker that matches the color of your wood’s finish.


