Want to paint your steel door? It needs good cleaning, a bit of sanding so paint sticks, the right primer for metal, and then thin layers of outdoor paint for a finish that lasts.
Table of Contents
Introduction
That steel front door starting to look a bit weathered? Maybe the color feels dated, or the paint’s just faded over time. Don’t jump to replacing it just yet – a fresh paint job can work wonders! It’s definitely a project you can handle yourself, and it really punches up the look of your house from the street. Painting steel isn’t exactly like wood, sure, but if you grab the right supplies and follow the process carefully, you can get results that look great and protect the door too. Let’s walk through how to get it done right.
Why Repaint That Steel Door Anyway?
It’s not just about making it pretty (though that’s a big part!):
- Curb Appeal Boost: Your front door gets noticed. Fresh paint makes the whole entrance look sharper.
- Rust Protection: Paint shields the steel from rain and dampness, which is key to stopping rust, especially if there are nicks or scratches in the old finish.
- Longer Door Life: Keeping rust away helps your sturdy steel door last even longer.
- Smart Update: It costs way less to paint than to buy and install a brand new door assembly. Big impact, smaller budget.
Feeling motivated? Good. First step is getting all your tools and materials lined up.
Getting Set Up: Your Painting Gear List
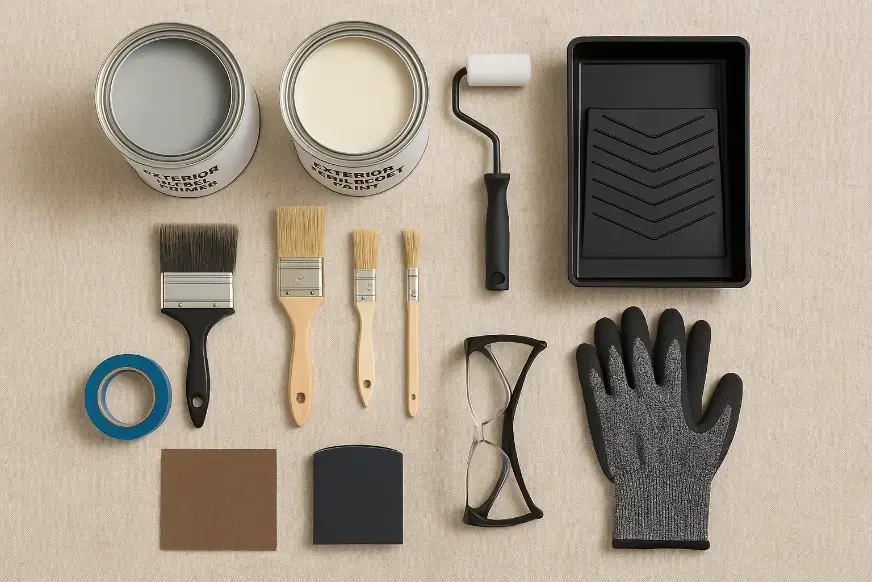
Having everything ready before you start makes the whole job go smoother. Check if you’ve got these things:
For Cleaning:
- Something to cut grease – mild soap or a dedicated degreaser works.
- A bucket for soapy water.
- Sponges or cloths for scrubbing.
- Clean water to rinse it all off.
- Clean rags that won’t leave lint behind for drying.
For Prepping the Surface:
- You’ll need something to scuff the surface – medium-grit sandpaper (maybe 180 to 220 grit) or a sanding sponge does the trick.
- Having fine-grit sandpaper (like 320-400 grit) is useful if you want to smooth things out between paint coats later, but it’s optional.
- If the old paint is actually peeling or flaking off, you’ll need a putty knife or a scraper to gently get the loose bits off first.
- A sanding block can help you sand evenly on flat spots.
- Good quality painter’s tape is essential for clean edges around glass, hardware, or the door frame.
- Drop cloths or plastic sheeting to keep paint off your porch or floor.
- Screwdrivers, if you plan to take the handles and locks off (which usually gives a cleaner result).
Primer and Paint:
- Metal Primer: This is super important! Find one that says it’s for metal or a ‘bonding’ primer. Oil-based (alkyd) primers stick well to steel, but there are good water-based (acrylic latex) ones too. Read the label to be sure it’s right for metal.
- Exterior Paint: Make sure it’s meant for outdoor use and okay for metal surfaces. Many find that a good quality acrylic latex exterior paint is user-friendly since cleanup involves just soap and water. Thinking about the finish? Semi-gloss or satin are often chosen for doors; they’re tough and easier to wipe down than a flat paint.
For Applying Paint:
- Decent paintbrushes – one with an angle is handy for edges and details, maybe a wider one for bigger flat parts.
- A small foam roller kit can give a really smooth look on the flat panels of the door.
- A paint tray with liners makes life easier.
Safety Stuff:
- Wear safety glasses or goggles – paint splashes happen.
- Work gloves keep your hands clean.
- A dust mask is a good idea when you’re sanding.
- If fumes are strong (like with oil paint) or you’re in a tight space without much air, using a proper respirator mask is the smart move.
Time to Paint: Breaking Down the Job
Got your supplies ready? Great. We’ll take this one step at a time. No need to rush.
Step 1: Prep Work is King! (Seriously, Don’t Skimp)
This is where you set yourself up for success. A clean, ready surface makes all the difference.
1.1 Wash That Steel Door:
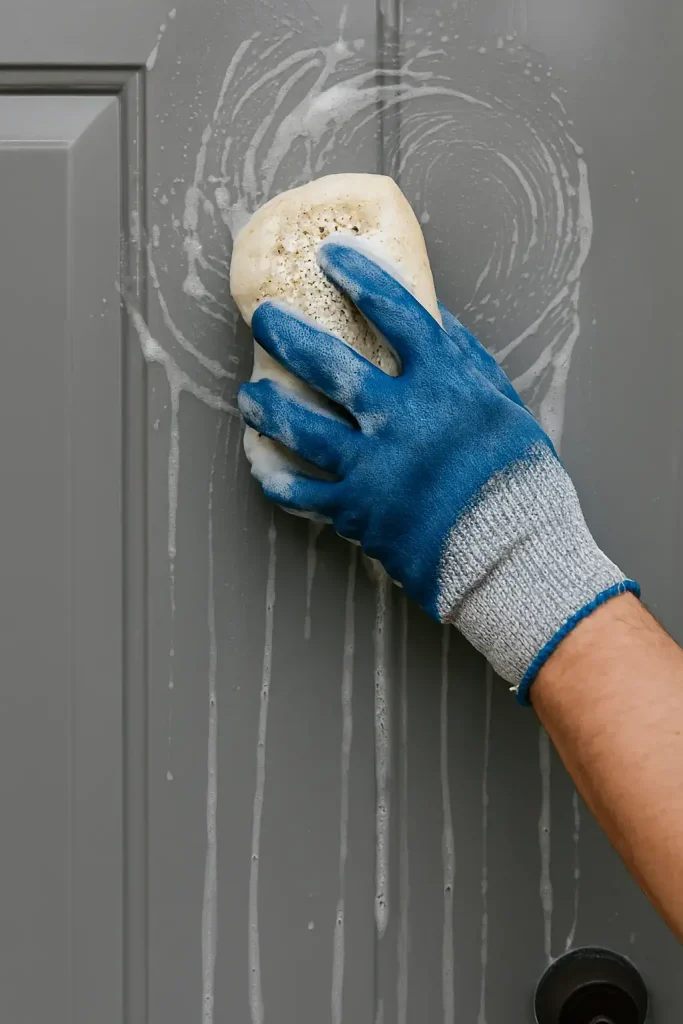
Use your cleaning stuff to scrub the whole door down. Get into corners, around edges – anywhere dirt likes to hang out. Rinse it really well with clean water, then dry it completely with clean rags. Let it sit until it’s totally dry. Leftover dirt or grease will stop the paint from sticking properly.
1.2 Take Off Hardware? (Recommended):
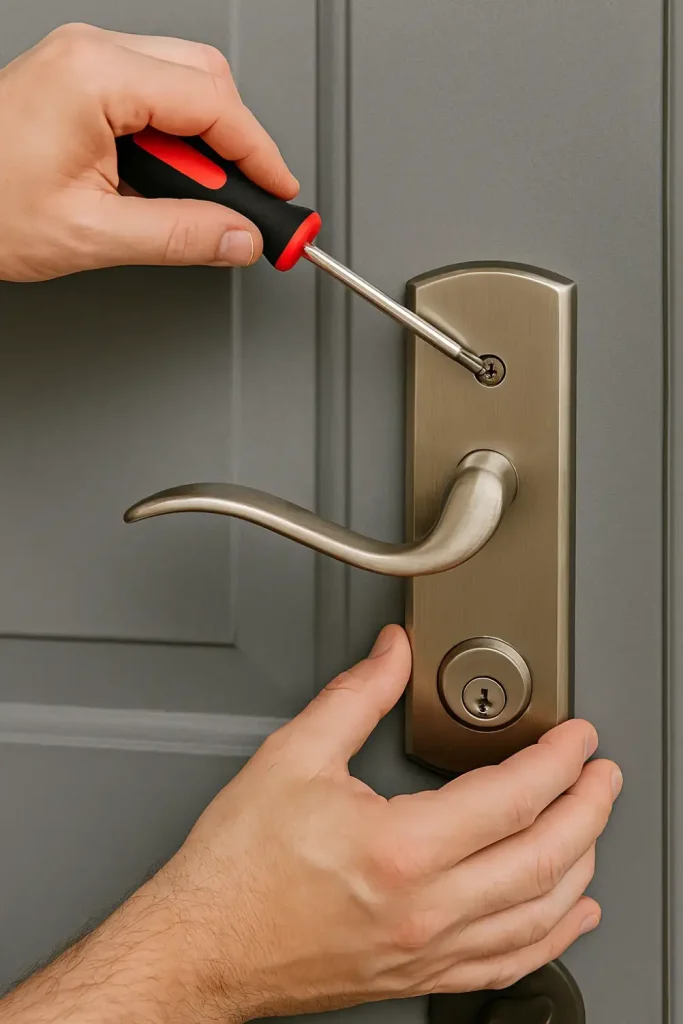
You can tape around handles and locks, but honestly, taking them off usually leads to a much neater paint job. Just keep track of the screws and pieces (maybe pop them in labeled baggies).
1.3 Scuff it Up (Lightly!):
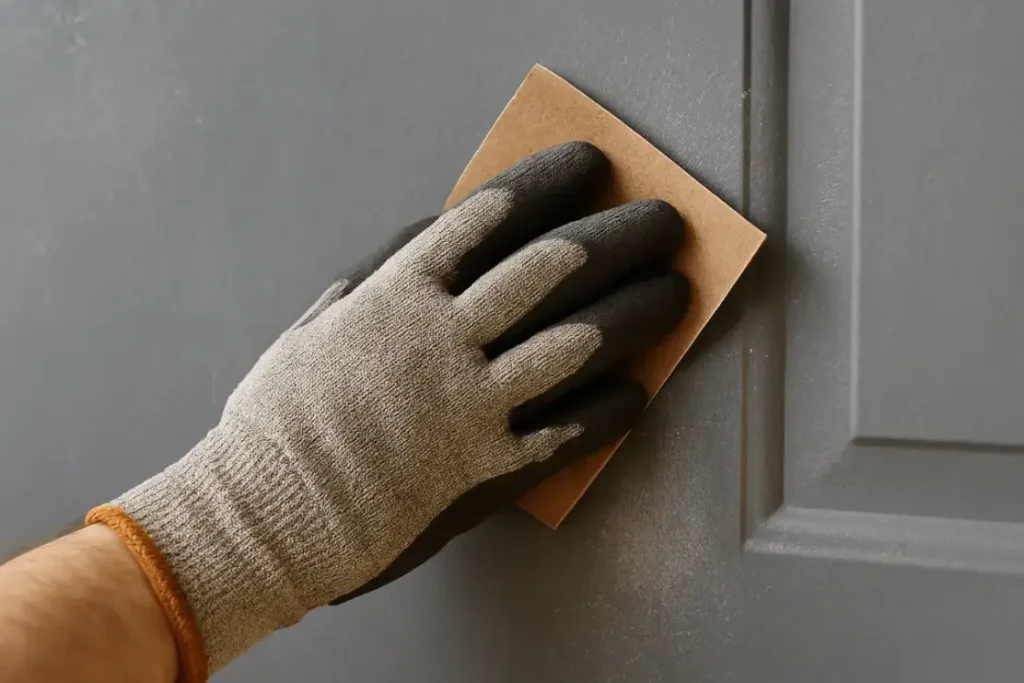
Steel doors often have a super smooth finish paint doesn’t like. Give the whole surface a light sanding with your medium-grit paper. You’re just trying to dull the shine and give the primer something rough to grab onto. Don’t try to sand off all the old paint unless it’s already coming off in flakes (scrape those bits first). Just sand evenly.
1.4 Clean Again and Tape:
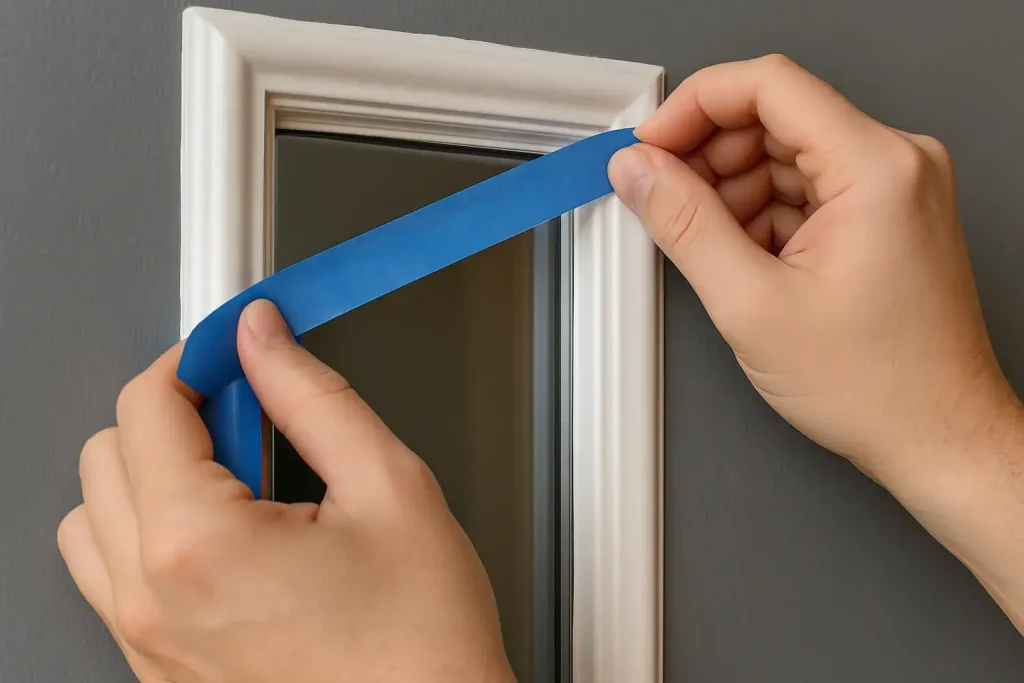
Wipe off all the dust from sanding. A slightly damp rag works, or use a tack cloth if you have one. Let it dry fully. Now, carefully stick your painter’s tape along any edges you don’t want painted – glass, the door frame itself, weatherstripping. Push the edges down well so paint can’t sneak underneath. Spread out your drop cloths.
Step 2: Prime Time – Getting it Ready for Paint
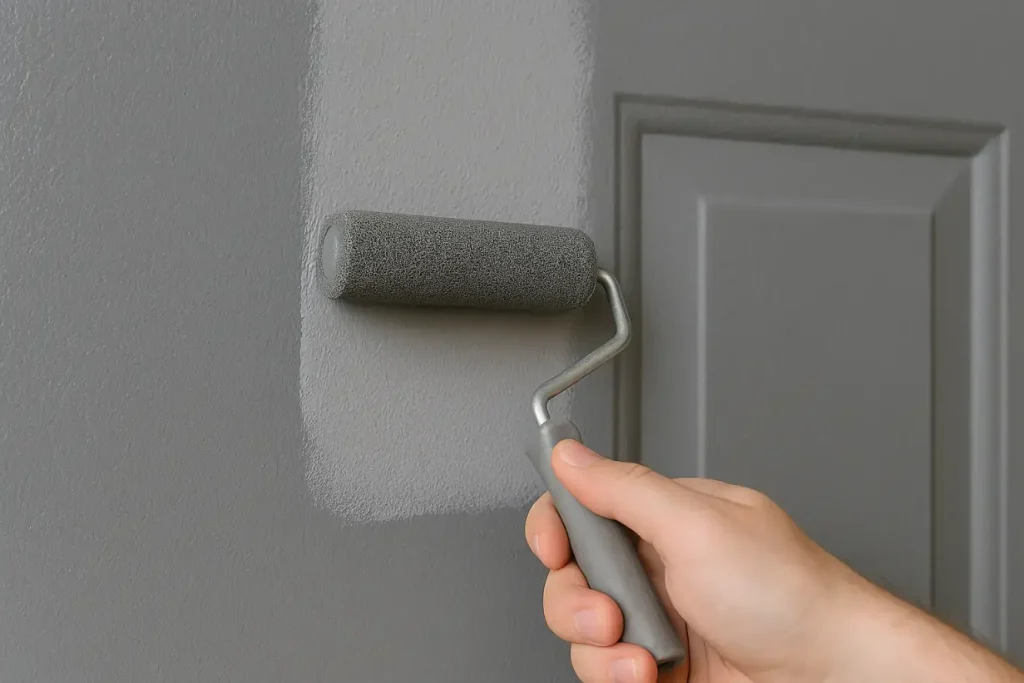
Primer on steel is a must. It helps the paint stick, stops potential rust spots from showing through later, and gives you a nice even base color.
- Why Prime Steel?: Unlike wood, steel isn’t porous. Primer acts like a bridge, helping the paint bond to the smooth metal. It also seals things up.
- Putting it On: Stir the primer well. Then, spread that primer out – thin and smooth is the goal. Don’t glob it on, or you’ll get drips and it’ll take forever to dry right. Make sure you cover every bit of the door, edges included.
- Let it Dry: For drying time, just check the instructions on the primer can. It’ll tell you how long to wait – could be an hour, could be several, depends on the stuff and how warm or humid it is. Seriously, don’t rush this part! Some primers suggest a quick, light sanding with fine paper after drying for maximum smoothness – read the label. If you do sand, wipe dust off again.
Step 3: Adding the Color!
Here comes the fun part – seeing the new color go on.
Picking the Paint:
Remember, use good quality exterior paint that’s okay for metal. Acrylic latex is often the easiest to work with for DIYers. Make sure it gets along with your primer (usually fine, but check cans if unsure).
Applying the Paint:
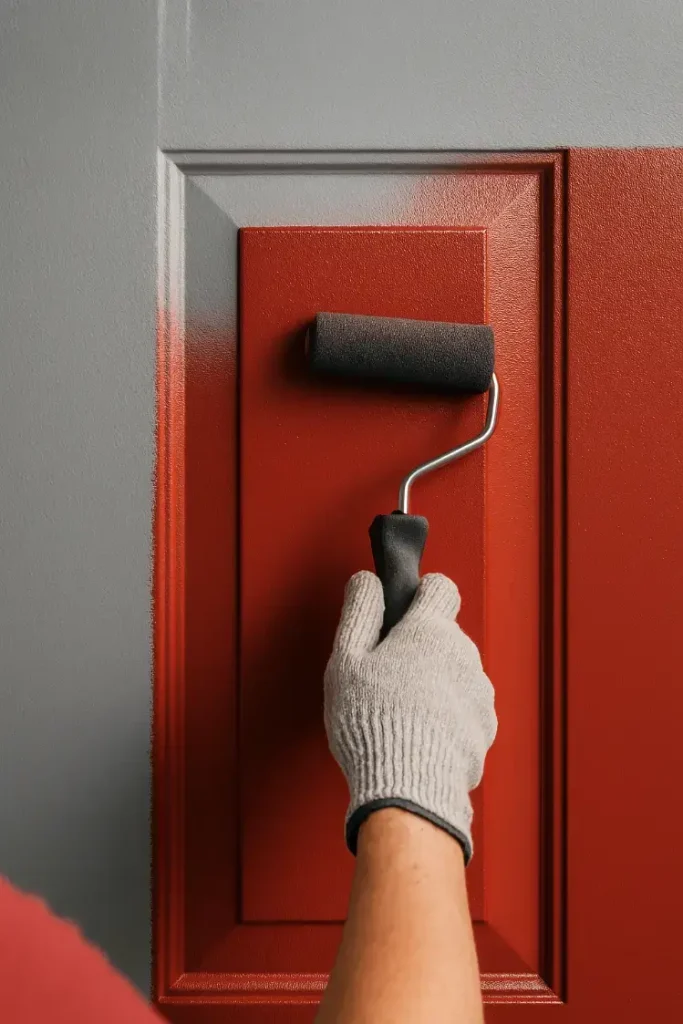
Stir the paint well. Now, start painting, aiming for thin, even coats. Thick coats cause drips, take ages to dry properly, and aren’t as tough in the long run.
- If Using a Brush: Use long, steady strokes. Tackle the detailed spots first (like around panels or windows) with your angled brush. Use a wider brush or roller for the big flat areas. Try to keep a “wet edge” – brush back into the area you just painted while it’s still wet to blend the strokes.
- If Using a Roller: A small foam roller works great for getting a smooth finish on flat panels. Use a brush for the edges and details first, then roll the flat parts, overlapping just a tiny bit onto the brushed areas. Don’t load the roller with too much paint at once.
Remember
Don’t forget those tricky edges – top, bottom, and sides need paint too!
Multiple Coats
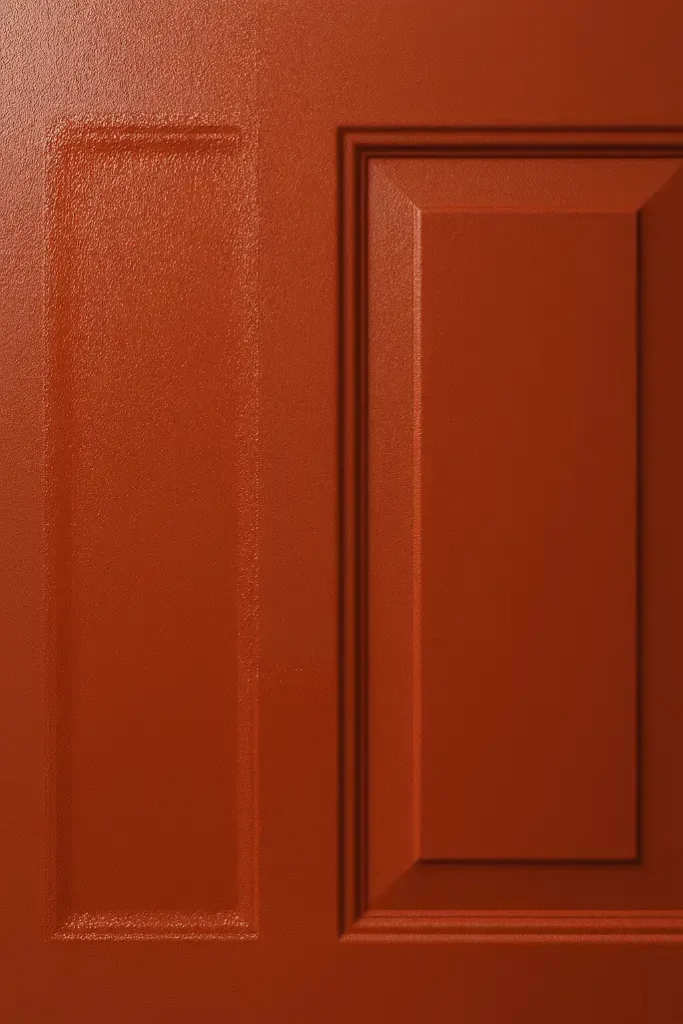
You’ll likely need at least two thin coats of your color for it to look solid and last well. Big rule here: let that first coat get completely dry before you even think about putting on the second one. Again, check the paint can for how long that takes. Waiting is key! Optional tip: some folks like to give it a super light sanding with very fine sandpaper between coats (once dry) for an extra smooth feel, but make sure you wipe off all the dust before painting again.
Step 4: Finishing Up
Almost done – just a few more things.
Drying vs. Curing:
Paint might feel dry to touch fairly quickly, but it takes much longer to fully harden up and become durable (that’s ‘curing’). Go easy on the door for a while – avoid slamming it or scrubbing it aggressively for several days, maybe even weeks (the paint can should give you an idea of cure time).
Peel the Tape:
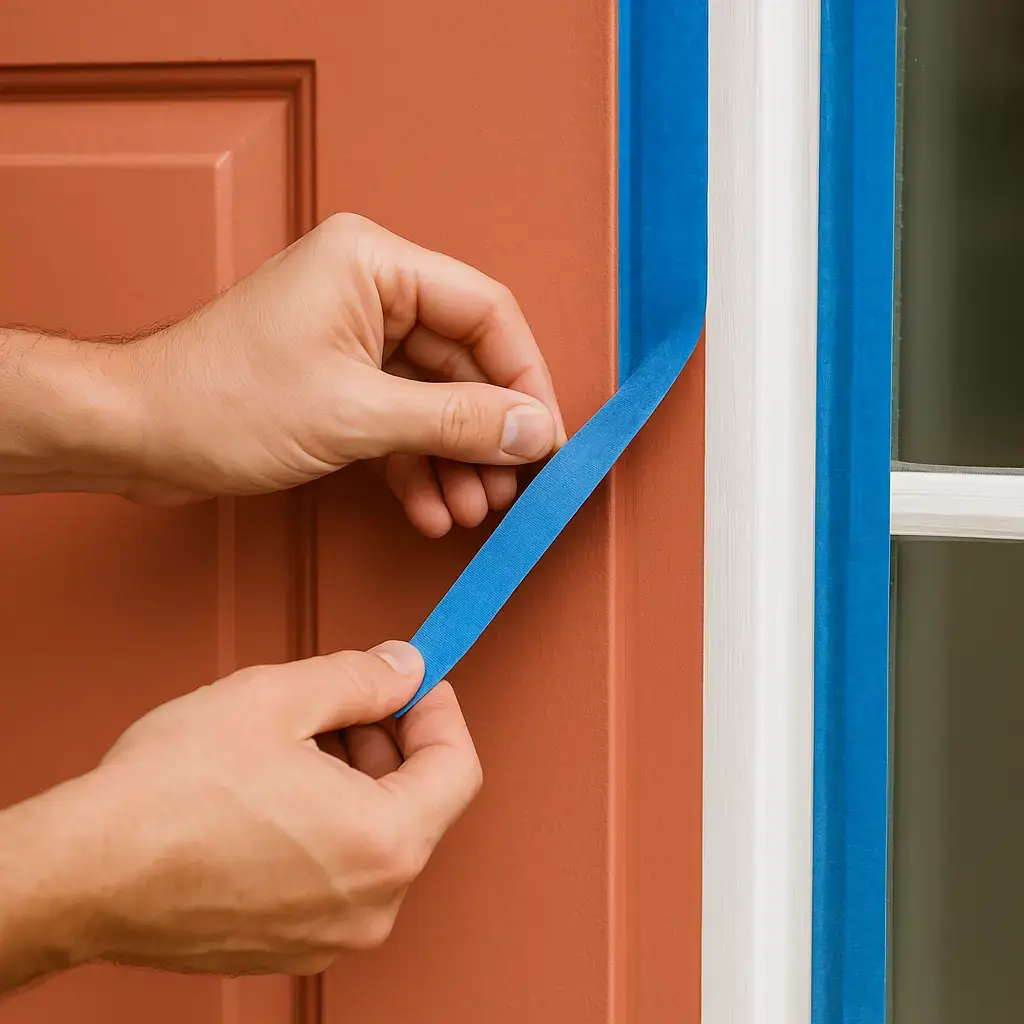
While that last coat of paint is still a bit soft (not totally wet, but not rock hard dry either), carefully peel off the painter’s tape. Pull it slowly away from the painted edge at about a 45-degree angle. This usually gives you the cleanest line without pulling dried paint off.
Put Hardware Back:
Once the paint feels solid (give it a good 24-48 hours minimum, more is better), you can carefully put the handle, lock, hinges (if removed), etc., back on.
Clean Your Tools:
Don’t wait! Clean your brushes, rollers, and tray right away following the paint can directions (usually soap and water for latex, mineral spirits or thinner for oil-based).
Quick Tips for Better Results
- Check the Weather: Avoid painting on super hot sunny days, when it’s really humid, or if rain’s coming. Mild, dry weather is your friend (check paint can temps).
- Take the Door Off?: For the ultimate flawless job, taking the door off its hinges and painting it lying flat is an option. It’s more work upfront but makes getting all edges perfect easier and prevents drips.
- Thin Coats, Always: Can’t say this enough. Two or three thin coats are way better than one thick one.
- Patience is Your Friend: Letting things dry properly between every single step is probably the biggest secret to a paint job that lasts.
Play it Safe: Quick Reminders
- Good Airflow: Make sure air is moving where you’re working, especially if using oil paints or sprays. Open things up, use a fan if needed.
- Protect Yourself: Wear your safety gear! Glasses for eyes, gloves for hands, and a mask when you sand.
- Read the Cans: Always check the labels on your primer and paint for specific instructions and safety advice.
All Done! Step Back and Admire
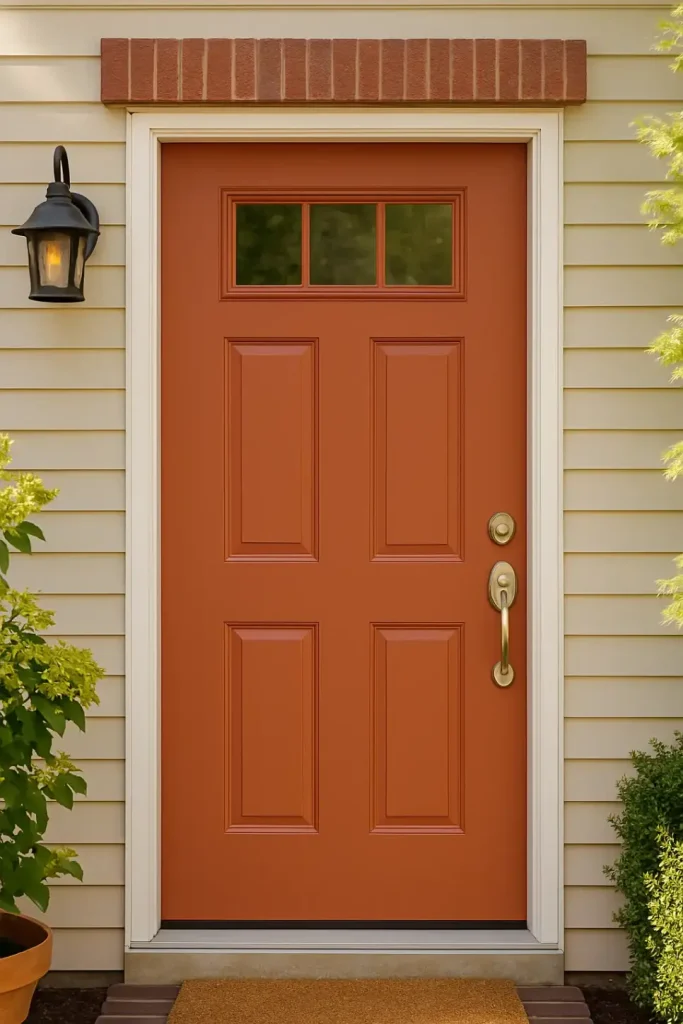
Giving your steel door a new coat of paint can be pretty satisfying. And… done! Painting that steel door definitely asks for some patience, especially the prep and waiting parts. But stepping back now, you can see it was worth it, right? All that careful work cleaning, scuffing, priming, and painting means your door has a tough new finish that looks sharp. It’s ready for the elements again and probably makes the whole entrance look better. Hope you like the change!


